How to Grow Lavender ‘Vera’ (Lavandula angustifolia ‘Vera’)
Lavender ‘Vera’ (Lavandula angustifolia ‘Vera’) is a classic “true” English lavender known for its rich fragrance, compact form, and elegant spikes of purple-blue flowers. It’s ideal for low hedges, borders, containers, and pollinator gardens, and is widely used for drying, sachets, crafts, and scented home projects. Growing from seed takes patience, but rewards you with long-lived, aromatic plants.
Quick Growing Facts
| Botanical name | Lavandula angustifolia ‘Vera’ |
| Plant type | Woody, evergreen perennial shrub in mild climates; semi-woody perennial in colder regions |
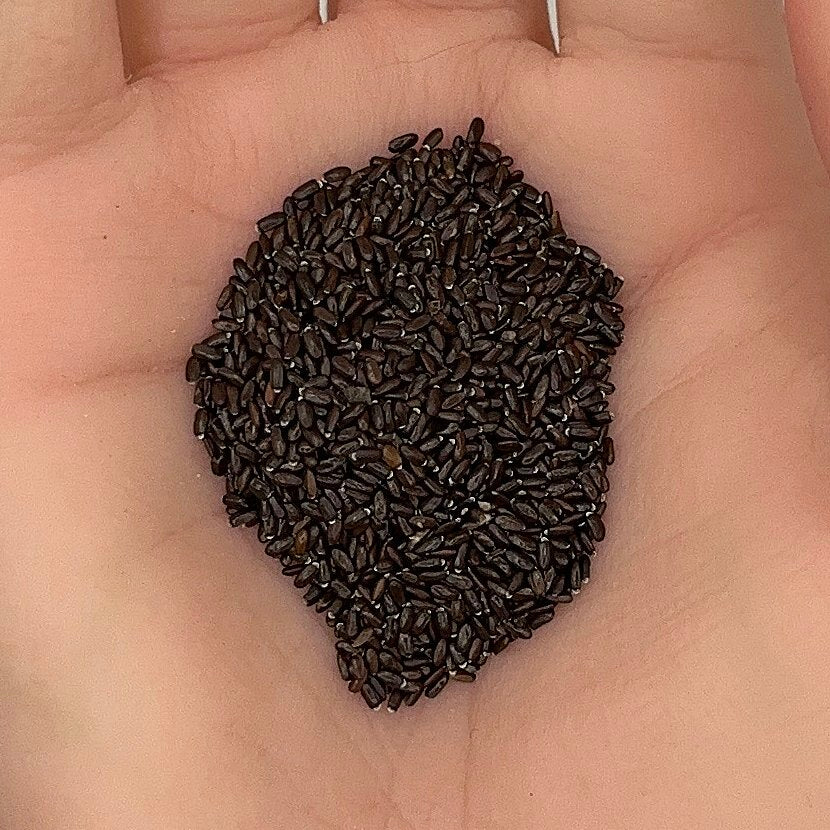
| Days to germination | 14–28 days (often improved by cold stratification; can be slow and uneven) |
| Time to first bloom | Often blooms in the second year from seed; early indoor sowings may give light first-year bloom |
| Height & spread (mature plants) | Around 16–24 in (40–60 cm) tall, 16–28 in (40–70 cm) wide; compact, rounded bushes (conditions & strain dependent) |
| Light requirements | Full sun (6–8+ hours daily) is essential for strong growth and abundant blooms |
| Soil | Very well-drained, sandy or gravelly soil; average to low fertility; pH about 6.5–8.0; dislikes heavy, wet soil |
| Spacing | 16–24 in (40–60 cm) between plants for hedges or rows; more space for large specimen plants |
| Hardiness | Cold-hardy in many temperate climates when drainage is excellent; evergreen in mild regions, may suffer winter dieback in very cold, wet areas |
When & Where to Grow Lavender ‘Vera’
Lavender ‘Vera’ thrives in sunny, open, dry sites with excellent drainage. Think Mediterranean conditions: lots of sun, lean soil, and not too much water. It’s especially effective along paths and borders where you can brush against the foliage.
- Indoors (for seedlings): Start seeds indoors in late winter or very early spring for transplanting after frost.
- Outdoors (direct sow): Sow in late fall for natural winter chilling, or in spring once soil has warmed (germination may be slower without stratification).
- Location: Choose the sunniest, driest spot you have — along paths, in raised beds, on slopes, or in rock gardens.
- Containers: Excellent in pots and troughs where you can control drainage and avoid waterlogging.
Soil Preparation
Good drainage is the single most important factor for successful lavender ‘Vera’. Soil fertility can be modest; wet, heavy soil is the main problem.
- Loosen the top 8–10 in (20–25 cm) of soil and remove weeds, roots, and stones.
- For heavy or clay soil, mix in coarse sand, grit, or small gravel plus organic matter to sharply improve drainage.
- In very rich soil, avoid adding a lot of extra fertilizer; lavender prefers lean conditions.
- Consider raised beds, mounded rows, or planting on slight slopes where excess water can drain away easily.
Improving Germination with Cold Stratification (Recommended)
Lavender ‘Vera’ seeds often sprout more reliably after a short cold period that mimics winter.
- Moisten a small amount of seed-starting mix or a paper towel so it’s damp but not dripping.
- Mix or wrap seeds in the moist medium and place in a labeled, sealed plastic bag or container.
- Refrigerate (do not freeze) for about 3–4 weeks.
- After stratification, sow seeds as usual indoors or outdoors in prepared trays or beds.
- This step is optional but often improves germination rate and uniformity.
Starting Lavender ‘Vera’ Indoors
Indoor sowing gives you strong young plants and better control over moisture and temperature, especially in cool or wet climates.
- Sow 10–12 weeks before your last expected frost date (lavender is slow to mature from seed).
- Use cell trays or small pots filled with a fine, very well-draining seed-starting mix (add extra perlite or sand if needed).
- After stratification (if used), sow seeds on the surface and cover lightly with about 1/8 in (0.3 cm) of fine mix or vermiculite.
- Keep at 65–75°F (18–24°C) with gentle, consistent moisture — the mix should be slightly moist, never waterlogged.
- Provide bright light from a sunny window or grow lights to prevent thin, stretched seedlings.
- Germination typically takes 14–28 days, sometimes longer; be patient and avoid overwatering.
- Once seedlings have several true leaves, thin or transplant so each cell holds one strong plant.
Direct Sowing Lavender ‘Vera’ Outdoors
Direct sowing is possible in suitable climates, especially when seeds can experience natural winter cold.
- Late fall method: Scatter seeds in prepared, well-drained beds late in the season so they overwinter in the soil and sprout in spring.
- Spring method: Sow in spring once the soil has warmed; germination may be slower without winter chilling.
- Rake the surface smooth and fine; sow seeds thinly and cover with a very light layer of soil.
- Keep the seedbed just moist until seedlings appear; then reduce watering to avoid soggy conditions.
- Thin or transplant seedlings to 16–24 in (40–60 cm) apart once they are large enough to handle.
Transplanting Lavender ‘Vera’ Seedlings Outdoors
- Harden off seedlings over 7–10 days by gradually exposing them to outdoor sun and wind.
- Transplant after all danger of frost has passed and soil is warmer and not waterlogged.
- Space plants 16–24 in (40–60 cm) apart for hedges or drifts; allow more space for larger specimen shrubs.
- Plant at the same depth they grew in their pots; avoid burying the woody crown.
- Water in well once, then allow the soil surface to dry slightly before watering again.
Watering & Feeding
Lavender ‘Vera’ is drought-tolerant once established and prefers to be on the dry side. Over-watering is a common cause of failure.
- Young plants: Keep evenly moist (not soggy) for the first few weeks after transplanting while roots establish.
- Mature plants: Water deeply but infrequently, allowing the top few inches (5–7 cm) of soil to dry between waterings.
- Containers: Use pots with drainage holes and a gritty mix; never let containers sit in standing water.
- Feeding: In the ground, lavender rarely needs fertilizer; a light top-dressing of compost in spring is enough. In containers, feed lightly with a low- or balanced-nitrogen organic fertilizer once or twice per season.
- Avoid over-feeding: Too much fertilizer leads to soft, floppy growth and reduced essential oil concentration.
Plant Care, Pruning & Overwintering
- Pruning timing: Lightly prune in early spring and again after the main flowering flush to maintain shape and encourage new growth.
- How to prune: Shear back spent flower stalks and a small amount of soft green growth, but avoid cutting deeply into old, woody stems with no leaves.
- Shape: Aim for a rounded mound; regular light pruning keeps plants dense and prevents them from becoming woody and open in the center.
- Overwintering in cold climates: Good drainage is vital. A light, airy mulch (such as straw or evergreen boughs) can help protect crowns, but do not smother plants.
- Overwintering in containers: Move pots to a sheltered, cool, bright spot in winter where roots won’t freeze solid, and water sparingly.
Pests & Diseases
Lavender ‘Vera’ is naturally aromatic and generally resistant to many pests and diseases, especially in sunny, dry sites.
- Root rot: The most common problem; caused by waterlogged soil. Improve drainage and reduce watering if plants decline or crowns turn black.
- Fungal issues: Good air circulation and avoiding overhead watering help prevent mildew and leaf spots.
- Insects: Occasional aphids or spittlebugs may appear; usually minor. Rinse with water or use gentle organic controls if necessary.
- Winter dieback: In very cold or wet climates, some branches may die; prune out dead wood in spring once you see where new growth emerges.
Harvesting Lavender ‘Vera’
When & How to Harvest
- Begin harvesting when plants are well established and carrying strong flower spikes (usually in summer).
- For fresh use, cut stems when some flower buds are open and others are still tight — aroma and oil content are excellent at this stage.
- Use clean, sharp scissors or pruners to cut stems, leaving enough foliage below to keep the plant vigorous.
- Try not to remove more than about one-third of the plant’s total growth at one time.
Drying & Storing Lavender ‘Vera’
- Cut stems on a dry day, after morning dew has evaporated.
- Gather small bunches, tie with string, and hang upside down in a dark, warm, airy place until completely dry.
- Once dry, stems can be used in bouquets, or buds can be gently stripped off for sachets, potpourri, and crafts.
- Store dried buds and flowers in airtight containers away from heat and light to preserve fragrance.
Saving Lavender ‘Vera’ Seed
Lavender ‘Vera’ can set seed after flowering, though seed-grown plants may show slight variation in height, color, and habit.
- Allow some flower spikes to remain on the plant after blooming and dry on the stems.
- When seed heads are dry and brown, cut them and place in a paper bag or over a tray.
- Rub gently to release small seeds; remove excess chaff if desired.
- Store seeds in a labeled, airtight container in a cool, dry, dark place until sowing time.
How to Use Lavender ‘Vera’ in the Garden & Home
- Ornamental: Ideal for low hedges, borders, and pathways; compact plants create neat, fragrant edges.
- Pollinator-friendly: Flowers are rich in nectar and attract bees, butterflies, and other beneficial insects.
- Fragrance: Use fresh or dried stems in vases, wreaths, and scented arrangements around the home.
- Crafts: Dried buds are perfect for sachets, sleep pillows, potpourri, and homemade soap and candles.
- Culinary (optional): Some English lavender types are used in small amounts for baking and teas; always confirm suitability and use sparingly.
Tips for Success
- Focus on full sun and excellent drainage — these are the two key ingredients for happy lavender ‘Vera’.
- Use cold stratification or fall sowing to improve seed germination.
- Avoid over-watering and over-fertilizing; lavender prefers lean, slightly dry conditions.
- Prune lightly and regularly to keep plants compact and prevent them from becoming woody and open.
- Plant ‘Vera’ where you can enjoy the fragrance, color, and pollinator activity all summer long.
Note: Growing conditions vary by region. Adjust sowing dates, watering, and winter protection to match your local climate and weather patterns.